
The Art of 'Zero Crop': How to Nail the Panoramic Effect Without Ruining Your Photos
I put Photoshop’s worst nightmare to the test: the seamless carousel.
Yesterday, I tried to post a photo of my team in front of our new office (12 people, perfect lighting, everyone smiling). On LinkedIn, there was no way to share the full shot without losing half the group or slicing the sky in two. The result? A clunky visual and 20 minutes wasted on Canva—cropping, exporting, recropping.
This time, I used a tool that did it all in 30 seconds. No manual slicing, no pixel calculations, no second-guessing a 2-pixel shift. Just drag, drop, and boom: my image stretched across two slides like a real panorama.
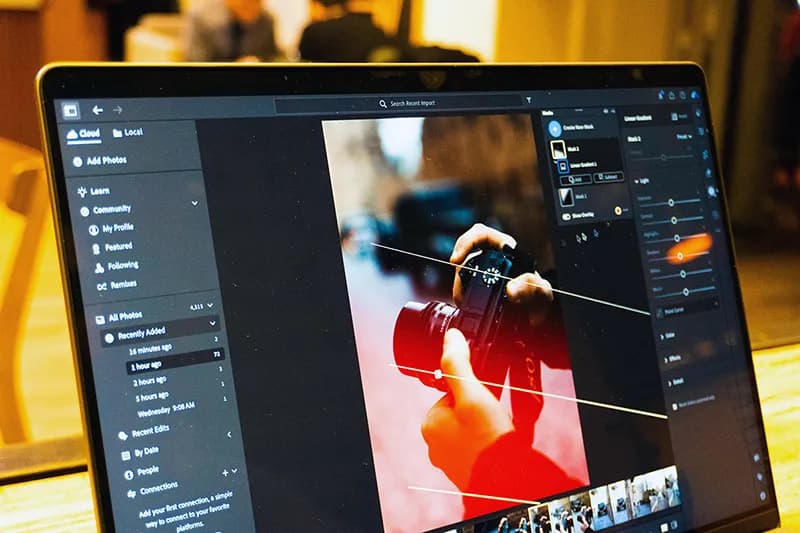
Seamless is your secret weapon for:
- Keeping 100% of your image (no more choosing between left or right).
- Forcing the swipe (your brain craves closure when a face or detail disappears at the edge).
- Looking like a pro ad (even if you’re working from your garage).
The catch? No one does this manually. Building a panoramic carousel in Photoshop or Canva means:
- Wrestling a 5400 x 1350-pixel file.
- Setting guides every 1080 pixels to avoid slicing text.
- Exporting five slides one by one.
- Starting over if you add a slide.
I gave up after 45 minutes of frustration. Result? I scrapped the photo and posted something generic.
Now, with a tool like CarouselCraft, it’s:
- Upload your wide image.
- AI cleanly splits it into a continuous background across 2 slides.
- It checks that your text doesn’t land on a cut.
- You get a ready-to-post PDF or Instagram-ready PNGs.
No wasted time. No butchered visuals. Just a "wow" effect that looks pro—without the effort.
👉 Switch to Studio and test CarouselCraft’s seamless superpower!
Les illustrations de ce blog sont généreusement mises à disposition par les photographes d' Unsplash.